How to Draw a Line on an Image in Javafx
JavaFX - 2D Shapes Line
In general, a line is a geometrical structure which joins two points on an XY plane.

In JavaFX, a line is represented by a class named Line. This class belongs to the package javafx.scene.shape.
By instantiating this class, you can create a line node in JavaFX.
This class has 4 properties of the double datatype namely −
-
startX − The x coordinate of the start point of the line.
-
startY − The y coordinate of the start point of the line.
-
endX − The x coordinate of the end point of the line.
-
endY − The y coordinate of the end point of the line.
To draw a line, you need to pass values to these properties, either by passing them to the constructor of this class, in the same order, at the time of instantiation, as follows −
Line line = new Line(startX, startY, endX, endY);
Or, by using their respective setter methods as follows −
setStartX(value); setStartY(value); setEndX(value); setEndY(value);
Steps to Draw a line
Follow the steps given below to Draw a Line in JavaFX.
Step 1: Creating a Class
Create a Java class and inherit the Application class of the package javafx.application and implement the start() method of this class as follows.
public class ClassName extends Application { @Override public void start(Stage primaryStage) throws Exception { } } Step 2: Creating a line
You can create a line in JavaFX by instantiating the class named Line which belongs to a package javafx.scene.shape, instantiate this class as follows.
//Creating a line object Line line = new Line();
Step 3: Setting Properties to the Line
Specify the coordinates to draw the line on an XY plane by setting the properties startX, startY, endX and endY, using their respective setter methods as shown in the following code block.
line.setStartX(100.0); line.setStartY(150.0); line.setEndX(500.0); line.setEndY(150.0);
Step 4: Creating a Group Object
Create a group object by instantiating the class named Group, which belongs to the package javafx.scene.
Pass the Line (node) object, created in the previous step, as a parameter to the constructor of the Group class, in order to add it to the group as follows −
Group root = new Group(line);
Step 5: Creating a Scene Object
Create a Scene by instantiating the class named Scene which belongs to the package javafx.scene. To this class pass the Group object (root), created in the previous step.
In addition to the root object, you can also pass two double parameters representing height and width of the screen along with the object of the Group class as follows.
Scene scene = new Scene(group ,600, 300);
Step 6: Setting the Title of the Stage
You can set the title to the stage using the setTitle() method of the Stage class. The primaryStage is a Stage object which is passed to the start method of the scene class, as a parameter.
Using the primaryStage object, set the title of the scene as Sample Application as follows.
primaryStage.setTitle("Sample Application"); Step 7: Adding Scene to the Stage
You can add a Scene object to the stage using the method setScene() of the class named Stage. Add the Scene Object prepared in the previous steps using this method as follows.
primaryStage.setScene(scene)
Step 8: Displaying the Contents of the Stage
Display the contents of the scene using the method named show() of the Stage class as follows.
primaryStage.show();
Step 9: Launching the Application
Launch the JavaFX application by calling the static method launch() of the Application class from the main method as follows.
public static void main(String args[]){ launch(args); } Example
Following is the program which generates a straight line using JavaFX. Save this code in a file with the name DrawingLine.java.
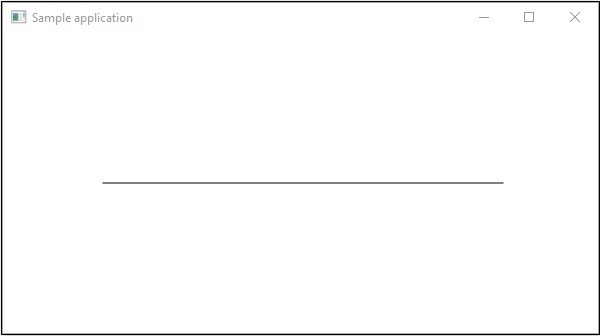
import javafx.application.Application; import javafx.scene.Group; import javafx.scene.Scene; import javafx.scene.shape.Line; import javafx.stage.Stage; public class DrawingLine extends Application{ @Override public void start(Stage stage) { //Creating a line object Line line = new Line(); //Setting the properties to a line line.setStartX(100.0); line.setStartY(150.0); line.setEndX(500.0); line.setEndY(150.0); //Creating a Group Group root = new Group(line); //Creating a Scene Scene scene = new Scene(root, 600, 300); //Setting title to the scene stage.setTitle("Sample application"); //Adding the scene to the stage stage.setScene(scene); //Displaying the contents of a scene stage.show(); } public static void main(String args[]){ launch(args); } } Compile and execute the saved java file from the command prompt using the following commands.
javac DrawingLine.java java DrawingLine
On executing, the above program generates a JavaFX window displaying a straight line as shown below.
javafx_2d_shapes.htm
Useful Video Courses

Video

Video

Video
How to Draw a Line on an Image in Javafx
Source: https://www.tutorialspoint.com/javafx/2dshapes_line.htm
0 Response to "How to Draw a Line on an Image in Javafx"
Post a Comment